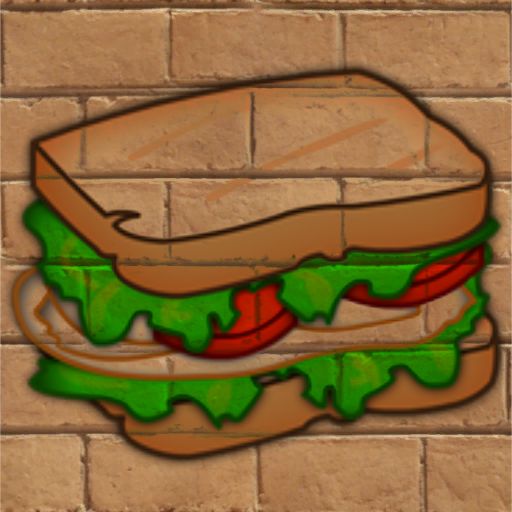
The new blend system is really great to use...but my gods the code, man...
 Documentation→Reference→Layers→Mapping
 |
|
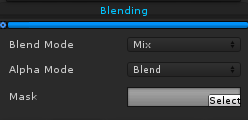
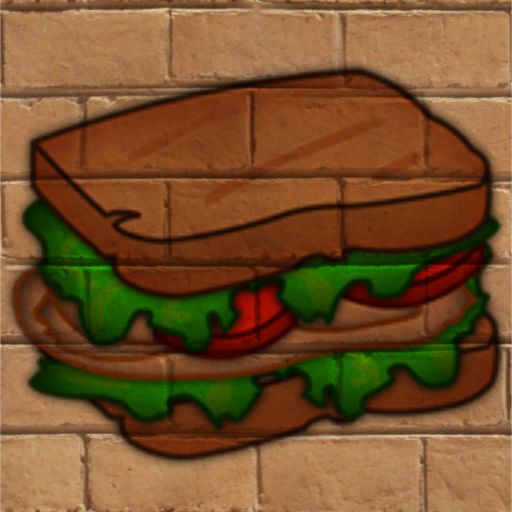
Blending affects how the layer is placed on the previous ones. |
Mix Amount (the colorful bar)
Blend Mode
Alpha Mode
Mask
The mix amount defines how much the layer is blended in. A value of 0 makes the layer invisible, while 1 makes it opaque.
Blend Mode
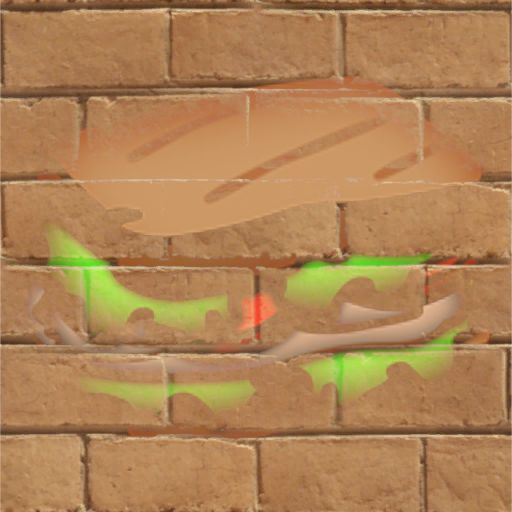
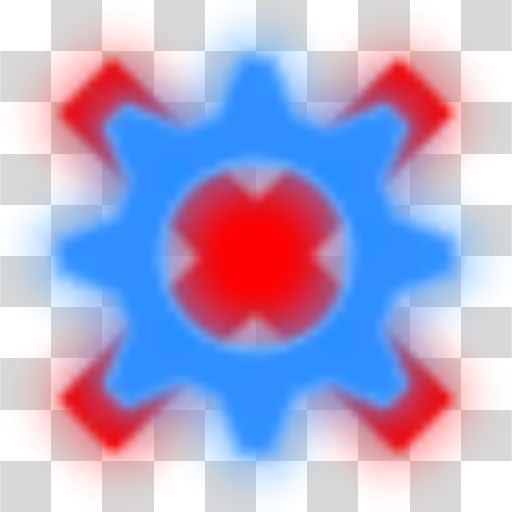
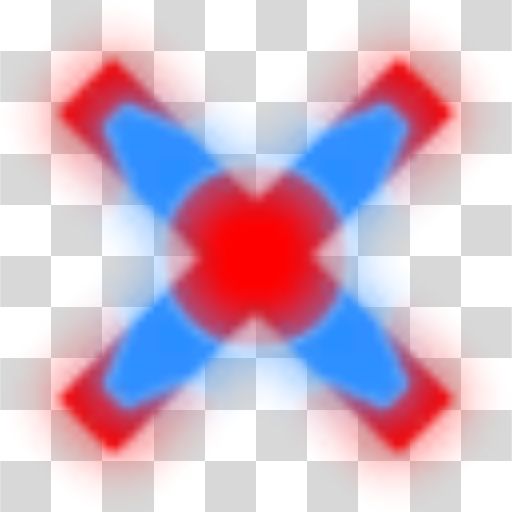
The blend mode defines how the two layers are blended. Given the RGBA values of both layers, what formula does it use to create the end result.
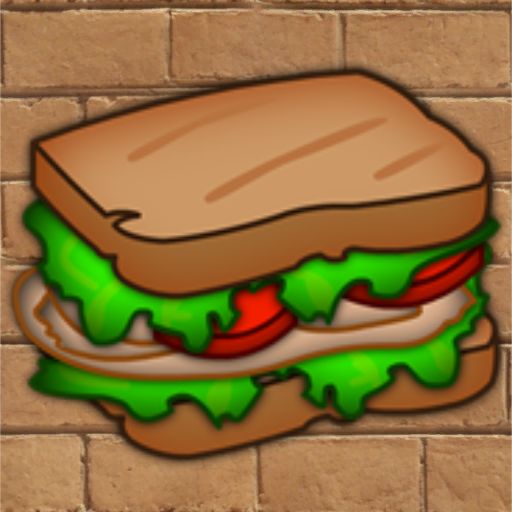 Mix MixJust uses standard alpha blending. |
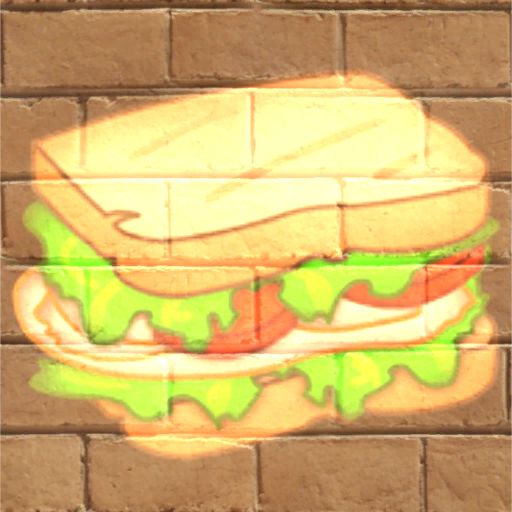 Add AddAdds the two colors together. |
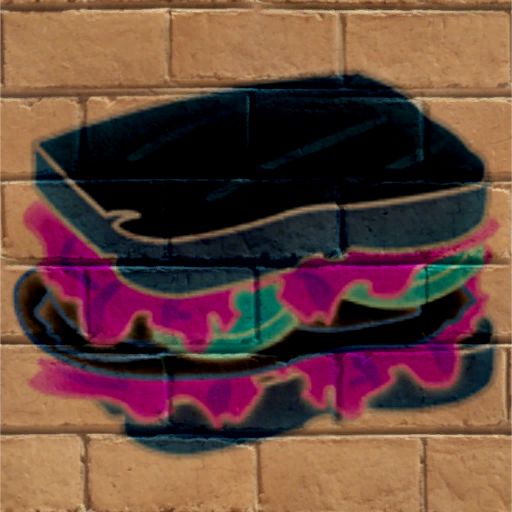 Subtract SubtractSubtracts the new color from the previous color. |
 Multiply MultiplyMultiplies the two colors together. |
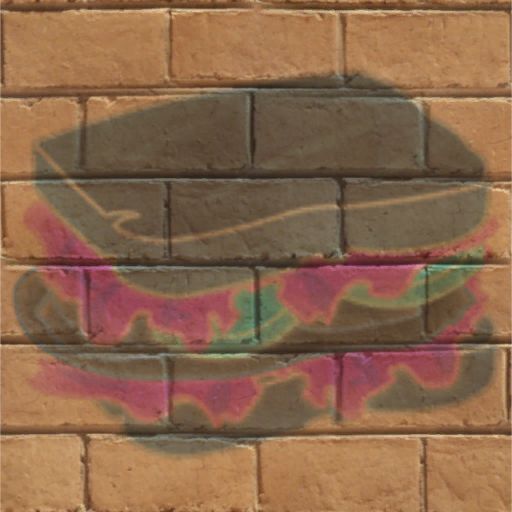 Divide DivideDivides the previous color by the new color. Note: Divide can be a bit unruly due to things like dividing by 0. Anything divided by black is a NaN, which different computers handle differently, so watch out! - A common fix is to either add an Math/Add effect, or a Math/Clamp effect to avoid 0s. So yeah: in the example image I used a Math/Add effect set to 1. |
 Lighten LightenChooses the lighter of the previous color and the new color. |
 Darken DarkenChooses the darker of the previous color and the new color. |
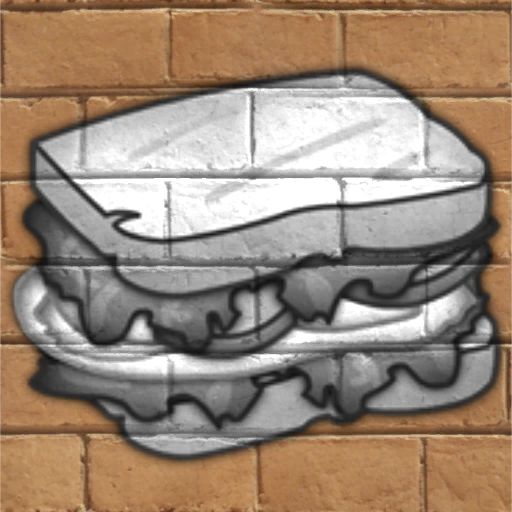
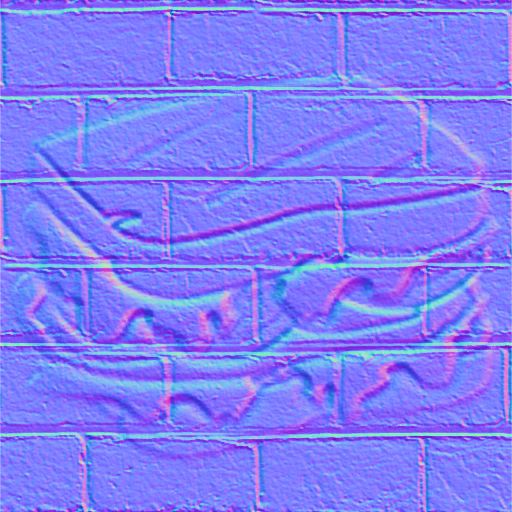 Normals Mix Normals MixOverlays two normal maps together, then normalizes. Note: In the example image I went ahead and added a Conversion/Height to Normals effect to both layers before blending them - the blend mode won't make them normal maps itself! |
 Dot DotDoes a greyscale thing...although technically it multiplies the two layers together, adds the RGB colors together and then sets all the color channels to the result. |
Alpha Mode
The alpha mode changes how the layer affects the underlying transparency.
 Blend BlendBlend simply lays on top, always heading towards full opacity. |
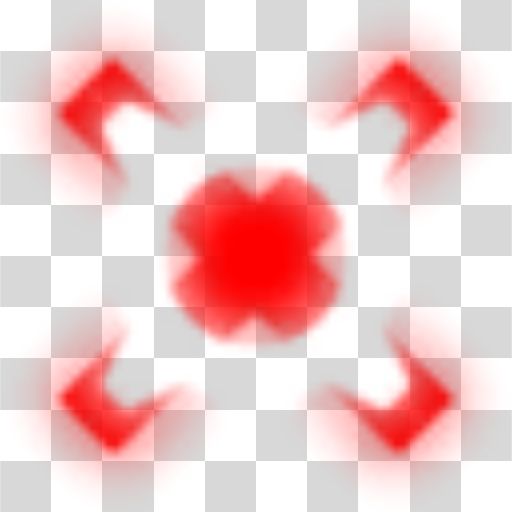
 Blend Inside Blend InsideBlend Inside blends within the bounds of the existing transparency. |
 Erase EraseErase...erases. |
 Replace ReplaceReplace completely replaces the transparency channel, setting it to the new layer's transparency. |
Mask
Masks are a way to restrict the effects of the layer to a certain area; you can create masks in the Masks section.